Two separate things live here. Team is who can see and change your monitors. Settings is your plan, your usage, and your credentials.
Teams#
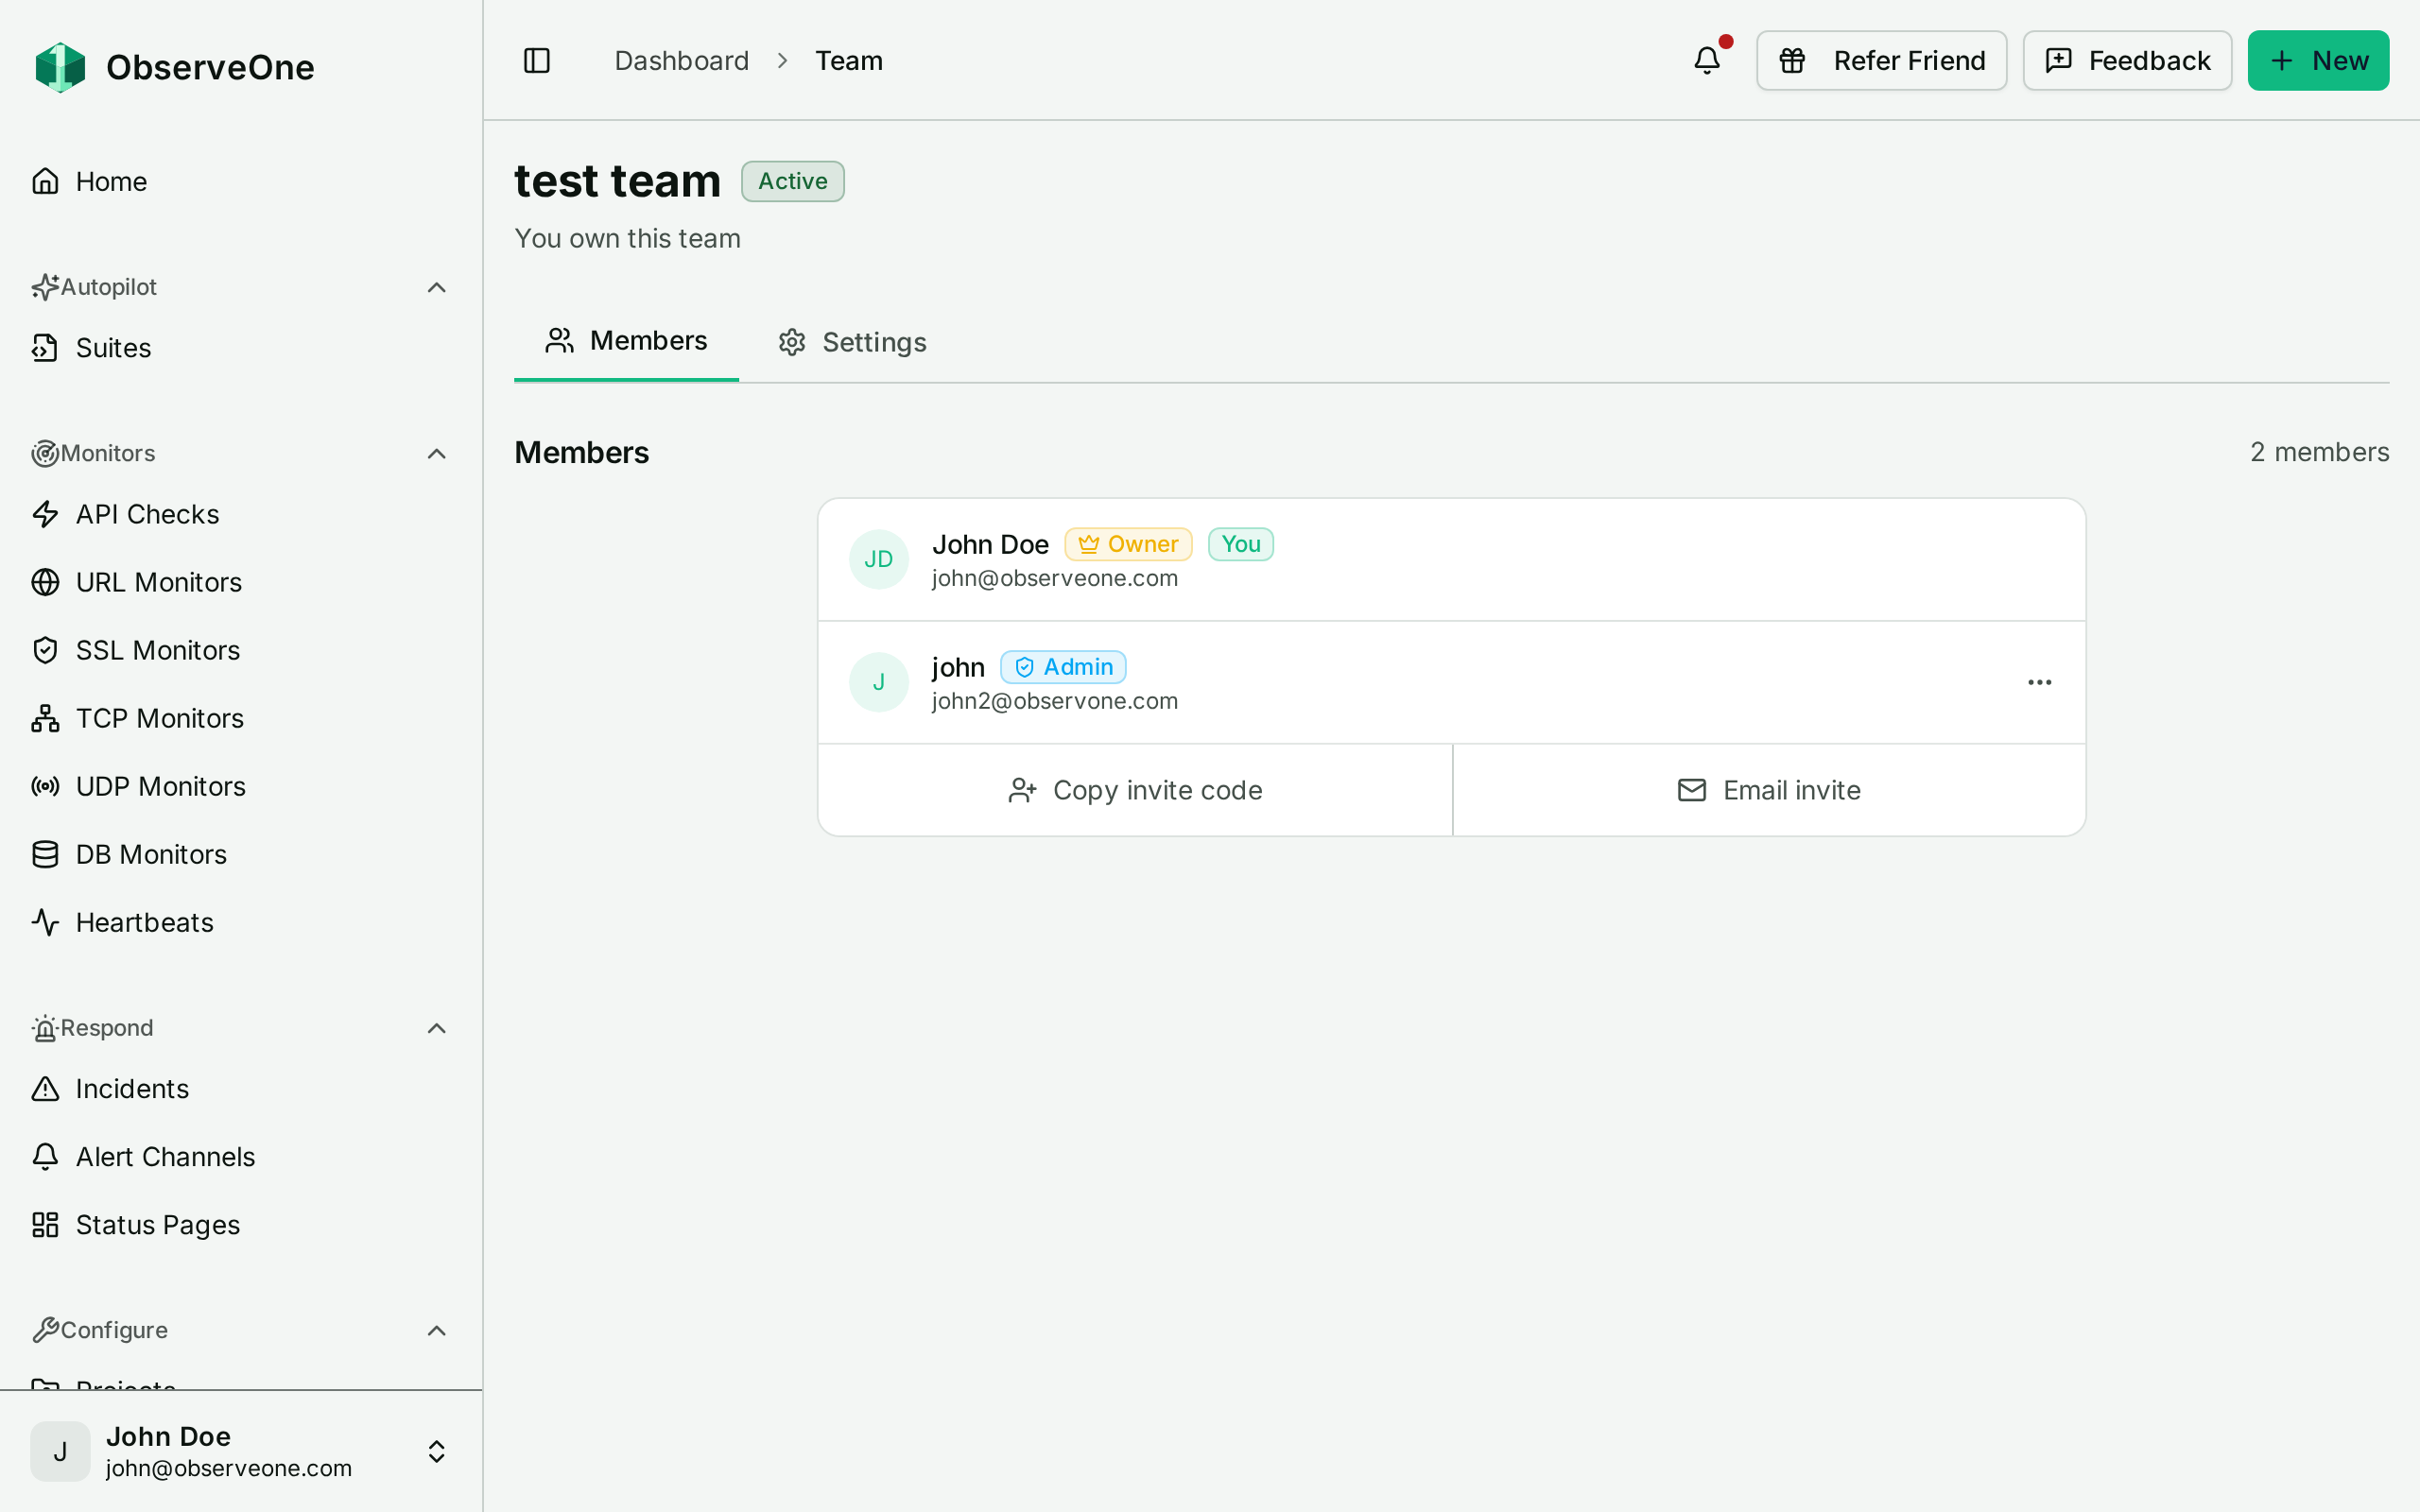
Open Team in the sidebar. With no team yet you get two choices: create a team, or join one with an invite code.
Roles#
There are three, and they nest:
| Role | Can do |
|---|---|
| Member | See and work with the team's checks |
| Admin | Everything a member can, plus invite and remove members, rename the team and regenerate the invite code |
| Owner | Everything an admin can, plus change roles, transfer ownership and delete the team |
There is exactly one owner. The owner cannot be removed from the team, and role changes never apply to them. To hand the team over, use transfer ownership rather than trying to demote yourself.
Only the owner can promote a member to admin or demote an admin back to member.
Inviting people#
Invites are a single shared invite code, not per-person emails.
On the Members tab, an owner or admin can copy the code and send it however they like, or use the prefilled email invite, which sends a link that opens the join dialog with the code already filled in. The recipient joins from their own Team page.
Because it is one code for the whole team, treat it like a credential: anyone holding it can join. If it leaks, or someone leaves, an owner or admin can regenerate the invite code from the Settings tab. That replaces the code, so anyone still holding the old one will need the new one.
Leaving and deleting#
Members and admins can leave a team. Only the owner can delete one, and deletion cannot be undone. Both ask for confirmation first.
Settings#
Settings in the sidebar has six tabs.
General#
Your name and account email address, your theme (system, dark or light), and your timezone.
Billing#
Your current plan, and everything money touches:
- Current plan and its status: active, on trial, past due or cancelled.
- Credit balance: your AI credits, and when they next refill.
- Payment method: add or update a card.
- Invoice history: each invoice with its amount and status.
- Promotion codes: apply a code to your subscription.
- Scheduled changes: when you have downgraded or cancelled, a notice tells you what changes and when. You keep your current plan until the date shown.
- Trial banner: while you are on a trial, how long is left.
What each plan includes#
What each plan allows:
| Plan | $/mo (monthly) | $/mo (annual) | AI verification runs | Monitors | Check interval | Users |
|---|---|---|---|---|---|---|
| Free | $0 | $0 | 10 | 10 | every 2h | 1 |
| Starter | $7 | $6 | 25 | 25 | every 5m | 1 |
| Essential | $29 | $24 | 80 | 50 | every 60s | 1 |
| Small Team | $99 | $85 | 200 | 500 | every 30s | 10 |
Plan changes go through Stripe Checkout and come back to this page. The subscription is activated by a webhook rather than by the redirect, so if the page still shows your old plan for a moment after paying, give it a beat before retrying.
Cancelling is a confirmation dialog on this tab. Your plan stays active until the end of the period you have paid for.
Usage#
What you have consumed this period against what your plan allows: monitors, checks, and AI verifications. An uncapped allowance shows as ∞. Your AI credit balance is not here; it sits on the Billing tab.
This tab is the one to check when the dashboard starts refusing an action. The Autopilot page explains which of the two AI currencies each operation spends.
Your plan also sets the minimum interval between checks, which is why a monitor form can show a slower schedule than the one you saved. See schedule clamping.
Data retention#
Shows your plan and how many days of history it keeps. Results older than that window are removed, so if you need to keep a run beyond it, export it while it is still there.
API keys#
Create and revoke the keys the CLI and the REST API authenticate with. Creating one asks for:
- Key Name: how you will recognise it later.
- Access: the scopes the key gets, picked per resource rather than as one flat list. Grant the narrowest set that does the job; a CI key that only needs to trigger runs should not be able to delete monitors.
- Expires: in 30, 60 or 90 days, a custom date, or Never. Prefer a date. A key that expires is a key you cannot forget to rotate.
The full key is shown once, in the dialog that appears after you create it. Copy it then. The list afterwards shows a short preview, its scopes, its expiry and whether it is active, with no way to reveal or copy the key again, because the server keeps only a hash of it. A key you failed to save is a key you have to replace.
More on keys and team access from the terminal: API keys & teams (CLI).
Integrations#
Your MCP connections, the agents you have authorised to act on your ObserveOne account, with a revoke action for each. See Connect an agent (MCP).
Next steps#
- Notification channels to set up where alerts go.
- Autopilot in the dashboard for what spends credits and what spends verifications.
- API keys & teams (CLI) to use the same keys from a terminal.